Step 6.2.1 SSH and launch ROS1 node on Raspberry PI firstly. Install ssh on the system, if it was not installed.
ssh <username>@<raspberry-ip-address>
Step 6.2.2 Enter the mikrik/ros folder
cd ~/mikrik/ros
Step 6.2.3 Change to root
sudo su
Step 6.2.4 Source variables and launch all ROS1 nodes
source devel/setup.bash
roslaunch mikrik_description bringup.launch
Step 6.2.5 SSH from your host computer to Radxa
ssh <username>@<radxa-ip-address>
Step 6.2.6 Launch VNC Server on LattePanda MU.
vncserver -localhost no -geometry 1920x1080 -depth 16 :42
Step 6.2.7 Next, open a terminal and execute the commands below to launch the bridge and mapping functionalities. Begin by starting the ROS1-ROS2 bridge on the LattePanda board.
cd ~/mikrik_robotics_sdk/scripts/
./mikrik_bridge_launch.sh
Step 6.2.8 In the second terminal tab, launch the Mapping Mode on your x86 LattePanda board.
cd ~/mikrik_robotics_sdk/scripts/
./realsense_collabslam_mapping.sh
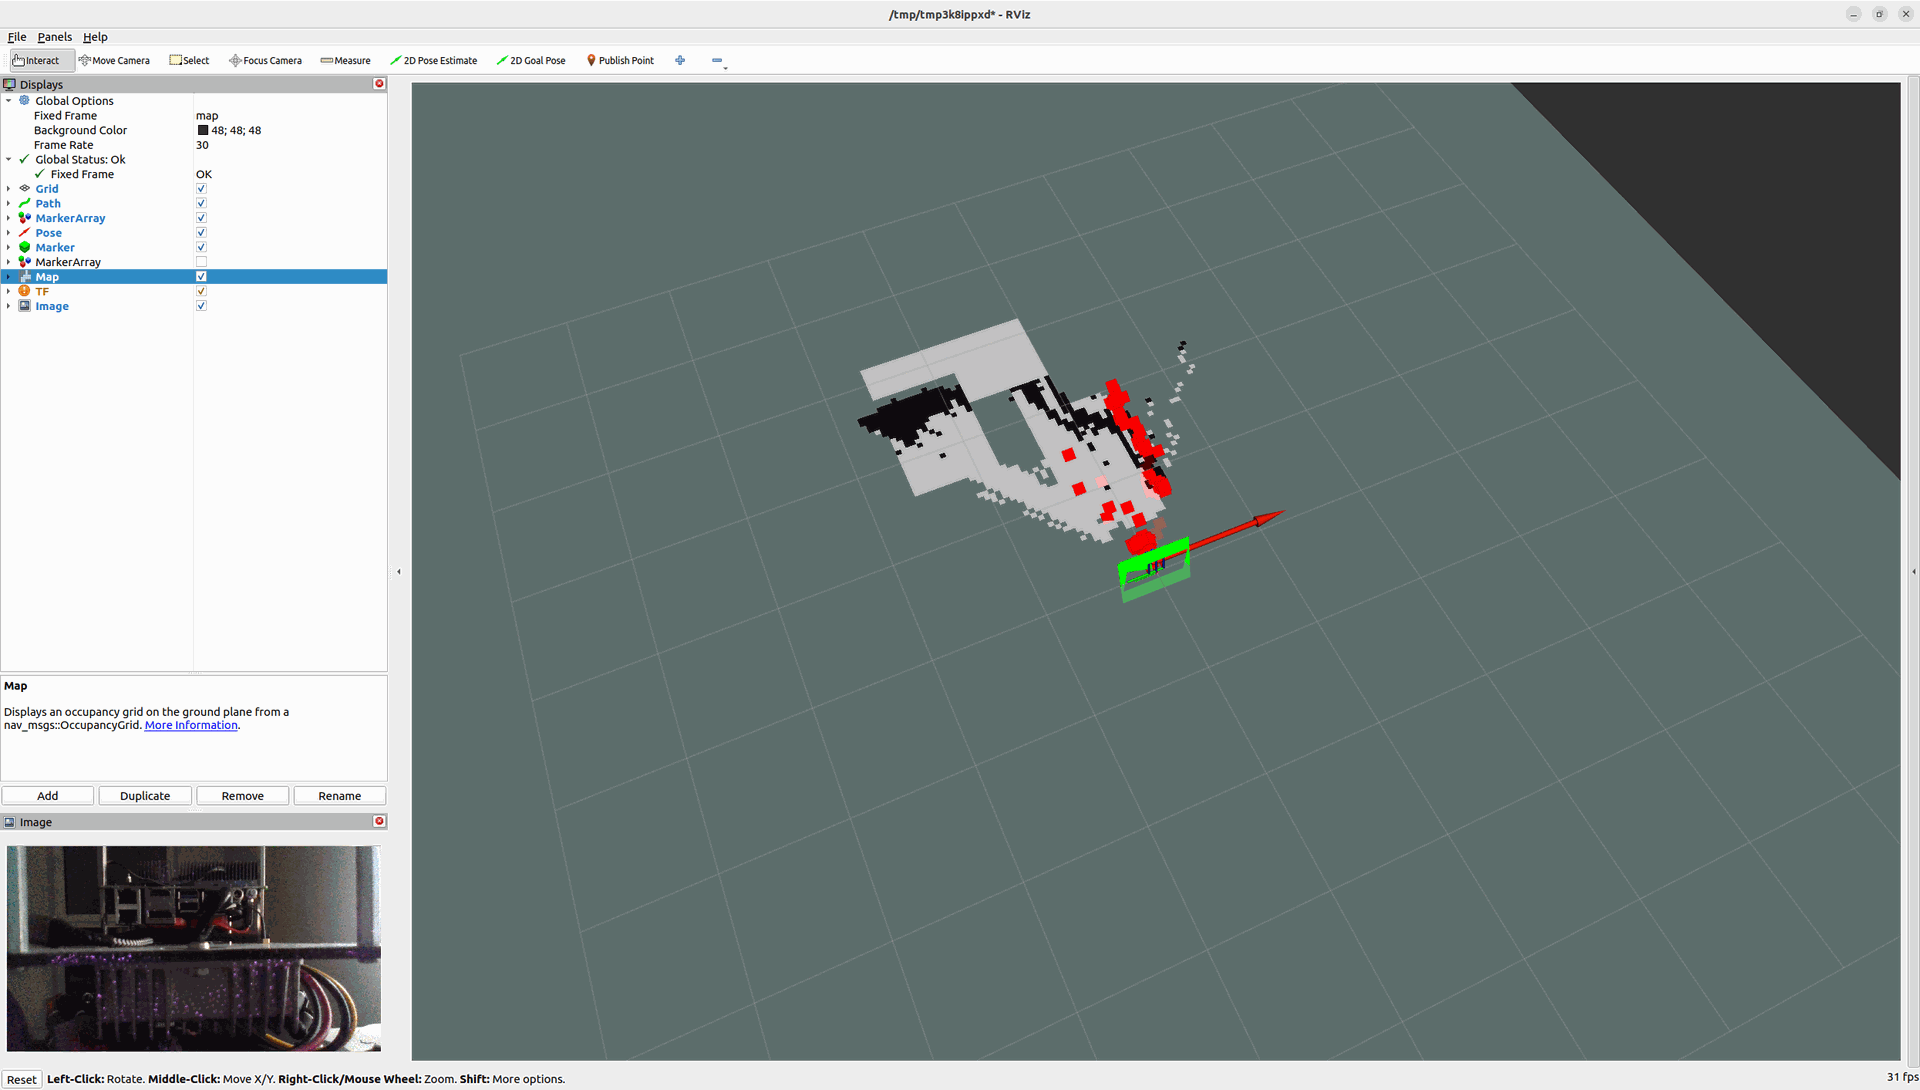
After launching the script, the RViz window will open. Enable the "Map" checkbox to display the 2D map in RViz. By default, this option is disabled.
目前没有任何评论。
成为第一个发表评论的人。