6.1 Launch Commands Mapping Mode Visual SLAM
Step 6.2.1 SSH and launch ROS1 node on Raspberry PI firstly. Install ssh on the system, if it was not installed.
ssh <username>@<raspberry-ip-address>
Step 6.2.2 Enter the mikrik/ros folder
cd ~/mikrik/ros
Step 6.2.3 Change to root
sudo su
Step 6.2.4 Source variables and launch all ROS1 nodes
source devel/setup.bash
roslaunch mikrik_description bringup.launch
Step 6.2.5 SSH from your host computer to Radxa
ssh <username>@<radxa-ip-address>
Step 6.2.6 Launch VNC Server on LattePanda MU.
vncserver -localhost no -geometry 1920x1080 -depth 16 :42
Step 6.2.7 Next, open a terminal and execute the commands below to launch the bridge and mapping functionalities. Begin by starting the ROS1-ROS2 bridge on the LattePanda board.
cd ~/mikrik_robotics_sdk/scripts/
./mikrik_bridge_launch.sh
Step 6.2.8 In the second terminal tab, launch the Mapping Mode on your x86 LattePanda board.
cd ~/mikrik_robotics_sdk/scripts/
./realsense_collabslam_mapping.sh
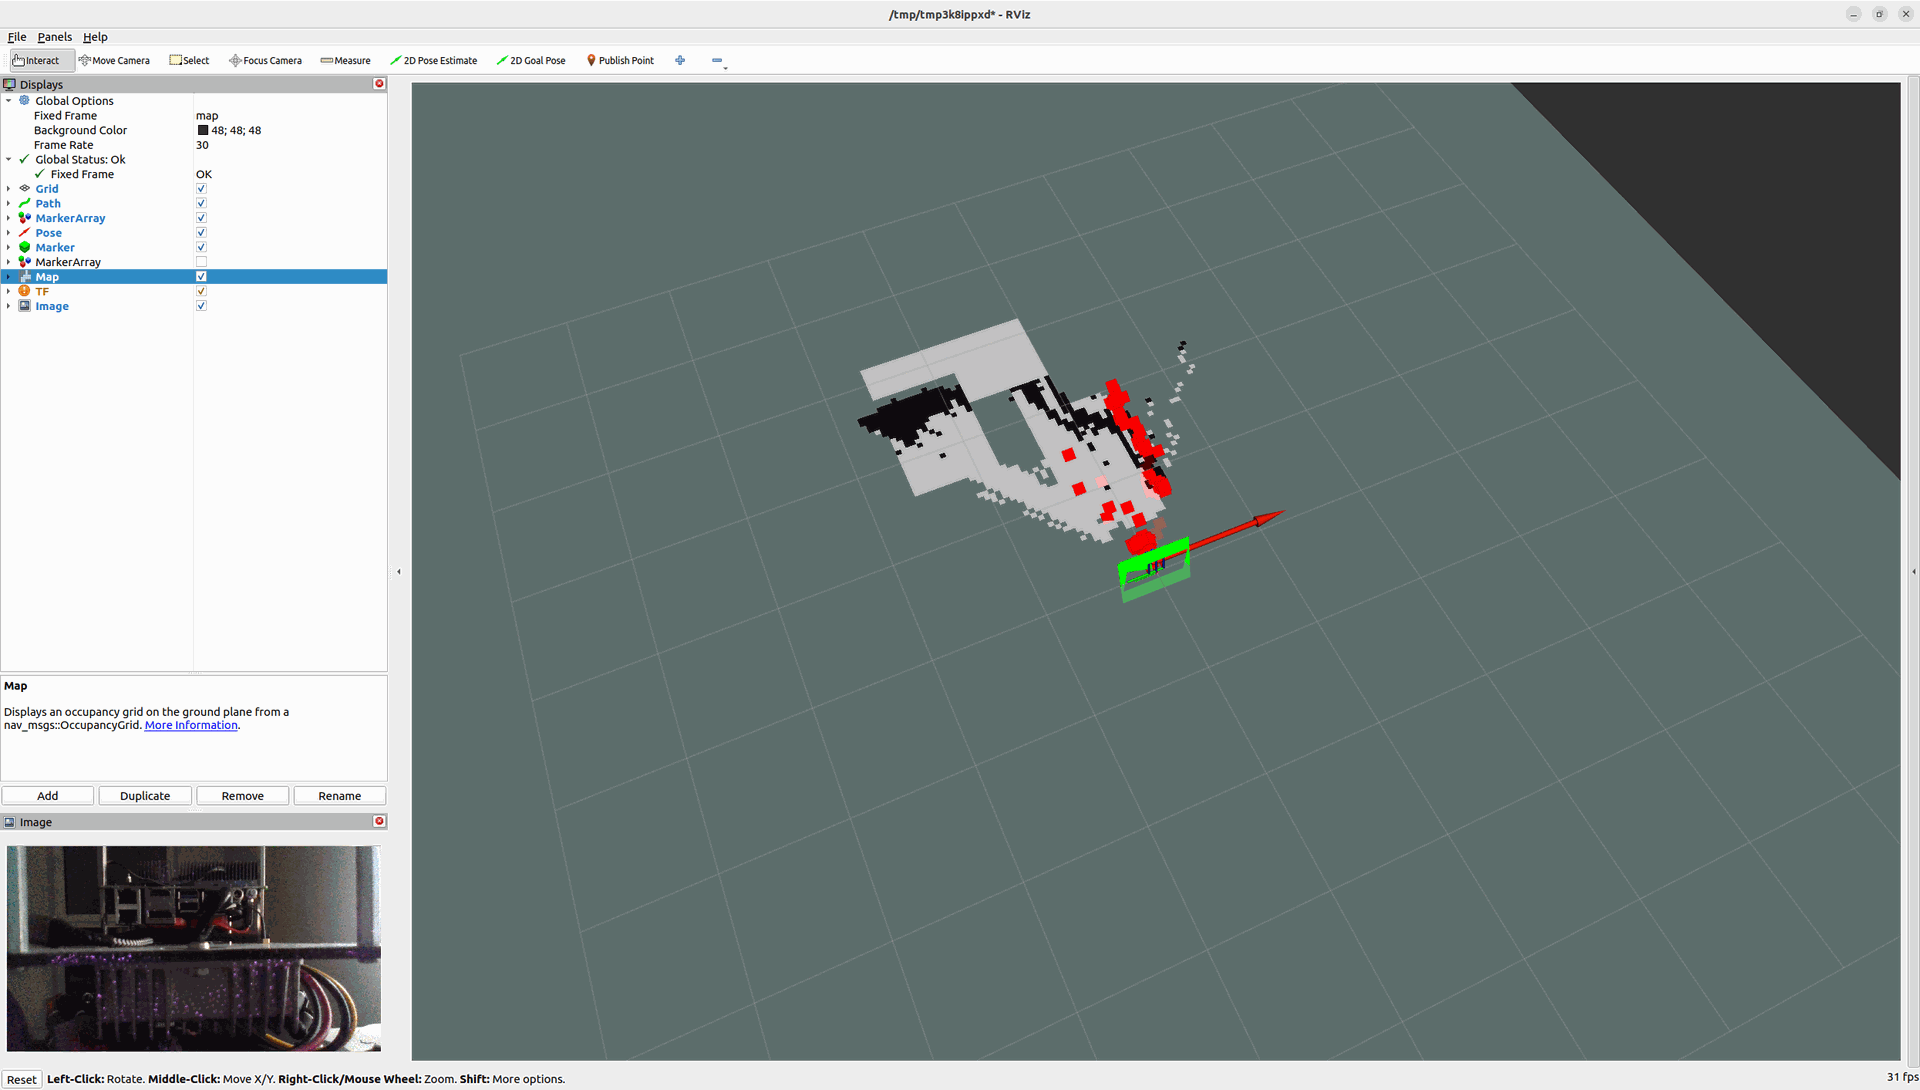
After launching the script, the RViz window will open. Enable the "Map" checkbox to display the 2D map in RViz. By default, this option is disabled.
There are no comments for now.
to be the first to leave a comment.