3.1 Build LattePanda Board and Robot
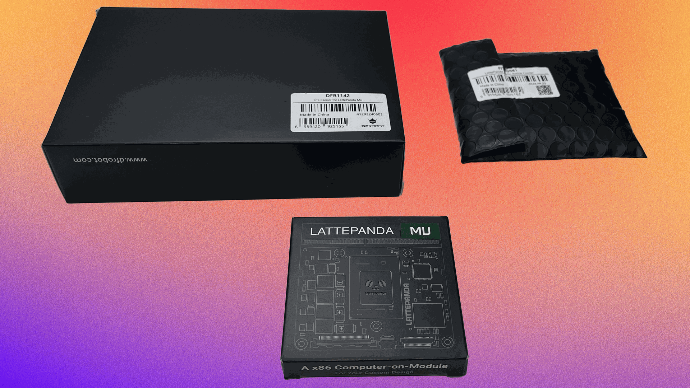
Step 3.1.1 Prepare LattePanda MU package, LiteCarrier package, and Active Cooler fan package.
Step 3.1.2 Take LattePanda MU core board from the package.
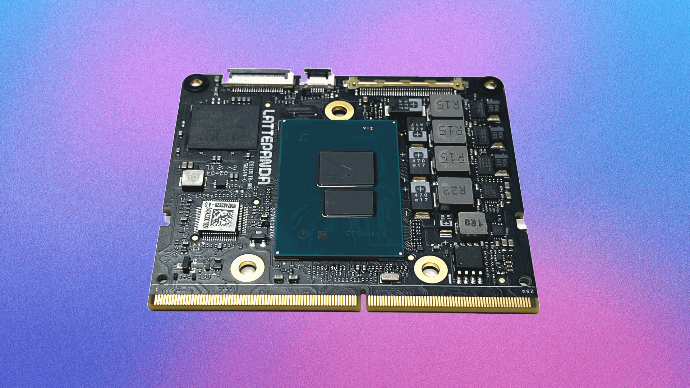

Step 3.1.3 Remove the LattePanda MU core board from the package and carefully peel off the protective film from the thermal tape.


Step 3.1.4 Now you have to install Active Cooler on the LattePanda board.

Step 3.1.5 Install Active Cooler on top of the LattePanda board.

Step 3.1.6 Secure the Active Cooler onto the LattePanda board using the provided screws. To prevent potential damage to the PCB, it’s recommended to use a plastic screwdriver during installation. Ensure the cooler is firmly attached but avoid overtightening the screws.

Step 3.1.7 Connect the Lite Carrier Board with the LattePanda MU assembly.

Step 3.1.8 Install LattePanda MU into the slot.

Step 3.1.9 Push LattePanda MU plate towards carrier board, you will hear "click" sound.


Step 3.1.10 Fix LattePanda MU board with the two screws from the kit.


Step 3.1.11 Install CR1220 battery to maintain the realtime clock. Comparing to Raspberry it is a great advantage.


There are no comments for now.
to be the first to leave a comment.